This post may contain affiliate links. Please read our privacy policy.
For my mum’s birthday, I wanted to make something that felt special — creamy, indulgent, and celebratory — yet gentle enough for my kids to enjoy too. Traditional cheesecakes are delicious, but they often rely on lots of sugar, butter, and biscuits. This one strikes a better balance: it’s sweetened naturally with dates and honey, and topped with a vibrant homemade raspberry-chia jam instead of sugary syrup.
The result? A creamy, slightly tangy cheesecake that feels like a treat but still aligns with the way we eat as a family — nourishing, real, and free from unnecessary sugar. My mum loved it, the kids devoured it, and I felt great knowing it was made with wholesome ingredients.
Why You’ll Love This Raspberry Cheesecake Recipe
This wholesome cheesecake is completely refined sugar-free, sweetened naturally with Medjool dates and a touch of honey. It’s a dessert you can feel good about sharing with little ones — balanced, nourishing, and full of real ingredients.
It’s also wonderfully balanced in flavour and texture — creamy and tangy from the cream cheese, lightly sweet from the dates, and finished with a bright, jammy layer of raspberries. Every bite feels indulgent without being overly rich or heavy.
Despite looking like a showstopper, this cheesecake is surprisingly simple to make. There’s no need for complicated steps, gelatine, or special baking equipment — just a blender, a bowl, and a handful of wholesome ingredients.
It’s a beautifully versatile dessert that works for birthdays, family gatherings, or even weekend baking with the kids. You can decorate it as elegantly or as playfully as you like, depending on the occasion.
And perhaps most importantly, it’s kid-approved. The soft, jammy raspberry topping and subtly sweet, date-based crust make it just as appealing to toddlers as it is to adults — a true family dessert that everyone can enjoy together.
How To Make This Raspberry Cheesecake Recipe
Start with the raspberry-chia jam. In a small pan, combine the raspberries, chia seeds, and water. Cook over medium heat for about 5 minutes, stirring gently as the raspberries break down and the mixture thickens. Once you have a jam-like texture, remove from the heat and let it cool completely. This will become your vibrant, nutrient-packed topping.
For the base, place the paximadia (or crushed biscuits), pitted Medjool dates, coconut oil, and egg in a blender or food processor. Pulse until the mixture forms a sticky, crumbly texture that holds together when pressed. Line a small cake tin with parchment paper, then spread and press the base mixture evenly. Bake for 10 minutes at 180°C (350°F), just until set, and then allow it to cool fully.
While the base cools, prepare the cheese cream. In a mixing bowl, whisk together the cream cheese and honey until the texture becomes smooth, creamy, and slightly airy.
Once the base has cooled, spread the cream cheese mixture evenly across it. Spoon the cooled raspberry-chia jam over the top and use the back of a spoon to swirl gently. For a finishing touch, decorate with fresh raspberries, crushed nuts, or a sprinkle of lemon zest for brightness.
Refrigerate the cheesecake for at least 2 hours before slicing and serving — this helps the layers set beautifully and enhances the flavours.
Make the Filling: After soaking the cashews for at least 3 hours (or overnight), drain and rinse them thoroughly. Place the soaked cashews into a blender or food processor, along with vanilla extract, honey, melted coconut oil, banana, and coconut milk if you’re using it for extra creaminess. Blend until the filling achieves a smooth, creamy consistency. This step ensures the velvety texture of the cake’s topping.
Assemble the Cake: Pour the creamy filling mixture over the prepared chocolate base, spreading it evenly to cover the surface. Smooth it out with a spatula to ensure a clean, uniform layer.
Add Toppings: For the finishing touch, decorate the top of your cake with fresh raspberries and grated pistachios. These not only add vibrant color and texture but also enhance the dessert’s flavor profile with a fruity and nutty crunch.
Freeze and Serve: Cut the cake into your desired portions before placing it in the freezer—this makes serving easier later. Freeze the cake for at least 2 hours until it’s firm and set. When you’re ready to serve, let the cake thaw slightly at room temperature for a few minutes to achieve the perfect texture. Slice, serve, and enjoy your beautiful, healthy raw vanilla cake!
Serving Ideas
This cheesecake is wonderfully versatile and can be served in many ways depending on the occasion. For birthdays or family celebrations, decorate it generously with fresh raspberries, crushed nuts, and a touch of lemon zest for a bright, elegant finish that looks as good as it tastes.
For everyday enjoyment, serve a small slice with a cup of coffee or herbal tea — the creamy texture pairs beautifully with both. You can also transform it into a fun, kid-friendly treat by cutting it into bite-sized squares or mini portions, perfect for little hands during snack time or playdates.
If you have leftovers, try serving a slice with a spoonful of Greek yogurt or a drizzle of extra raspberry-chia jam for added freshness. The natural sweetness and light texture make it a lovely option for breakfast or a mid-afternoon pick-me-up, offering the perfect balance between indulgence and nourishment.
Storage Tips
This wholesome cheesecake keeps beautifully when stored properly. Once set, cover it with a lid or wrap it tightly in reusable food wrap and store it in the refrigerator for up to 4 days. The texture actually improves after a few hours in the fridge, as the flavors blend and the base firms up nicely.
If you’d like to prepare it ahead of time, you can also freeze individual slices. Simply wrap each piece in parchment paper and store them in an airtight container. When you’re ready to enjoy, let the slices thaw in the fridge overnight or at room temperature for about 30 minutes.
Avoid freezing the entire cheesecake with fresh fruit on top, as the berries may lose their shape and texture once defrosted. For best results, add the fresh toppings after thawing. This way, your cheesecake will taste just as creamy and fresh as the day you made it.
Other Recipes to Try
If you loved this wholesome cheesecake, you’ll definitely enjoy some of my other naturally sweet, family-friendly desserts.
Start with my Raspberry Banana Cake — a moist, fruity loaf made without refined sugar, perfect for breakfast or after-school snacks. It’s naturally sweetened with ripe bananas and raspberries, making it a hit with both kids and adults.
For something simple and quick, try my 3-Ingredient Apricot Almond Cookies. They’re chewy, nutty, and made entirely from wholesome ingredients — ideal for busy days when you want a nutritious treat ready in minutes.
If you’re in the mood for something light and zesty, the Fluffy Lemon Cake is full of bright citrus flavour and pairs beautifully with a cup of tea. It’s a lovely option for spring and summer gatherings.
Chocolate lovers will adore my Salted Caramel Chocolate Squares — rich, indulgent, and completely refined sugar-free. They’re the perfect balance of sweet and salty, with a smooth caramel layer that melts in your mouth.
Finally, for another elegant, no-bake dessert, try the Easy Raw Vanilla Cake with Chocolate Base. It’s creamy, rich, and naturally sweetened with dates and honey — a beautiful dessert to serve when you want something wholesome yet special.
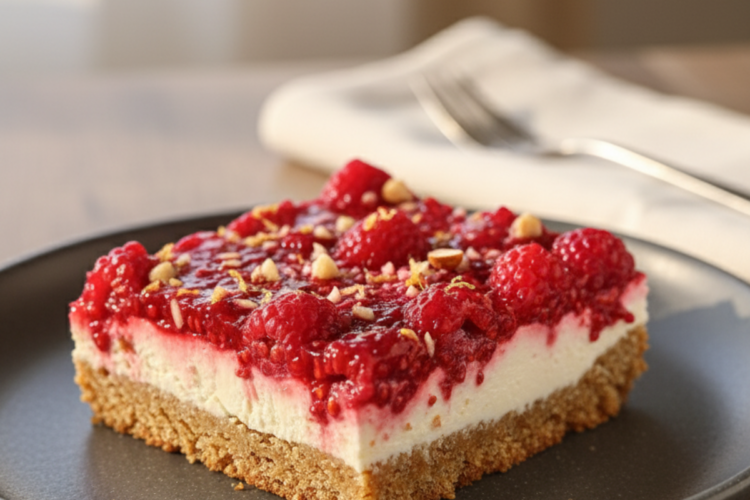
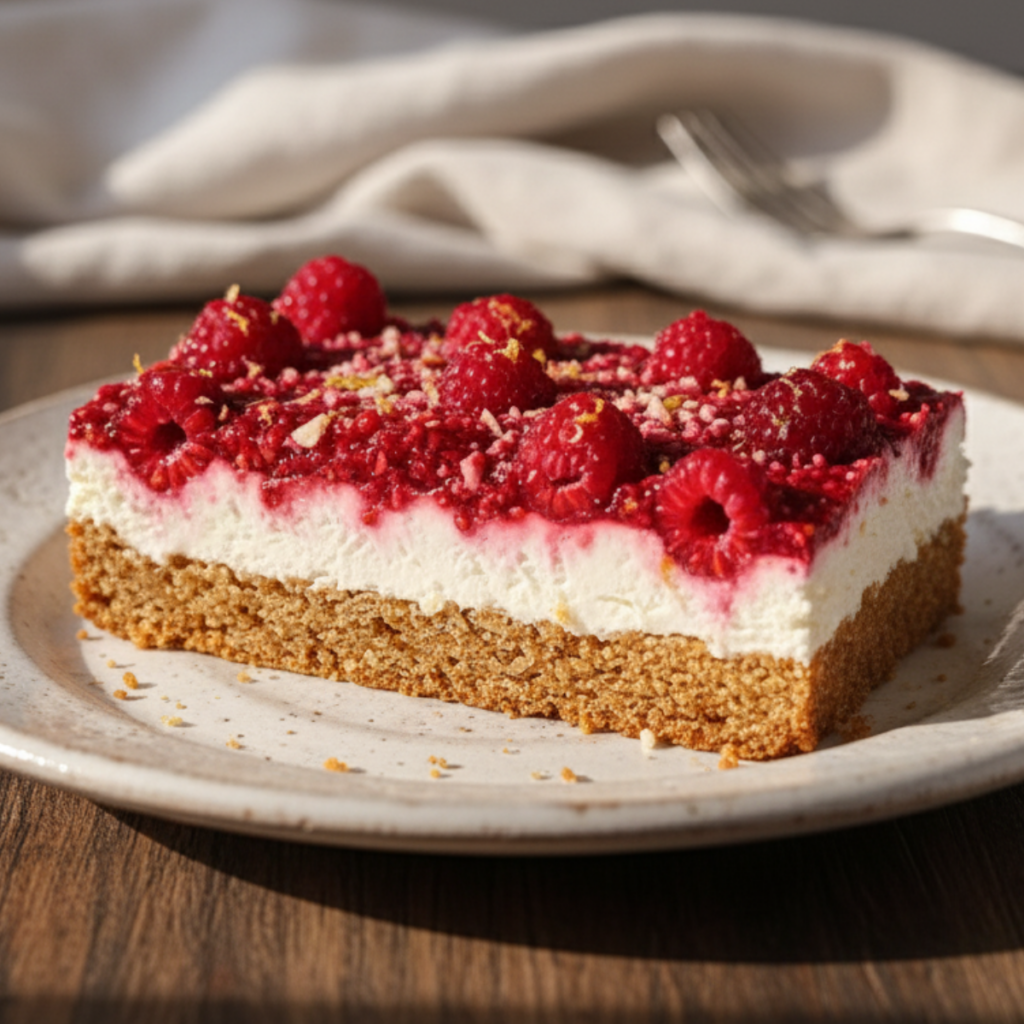
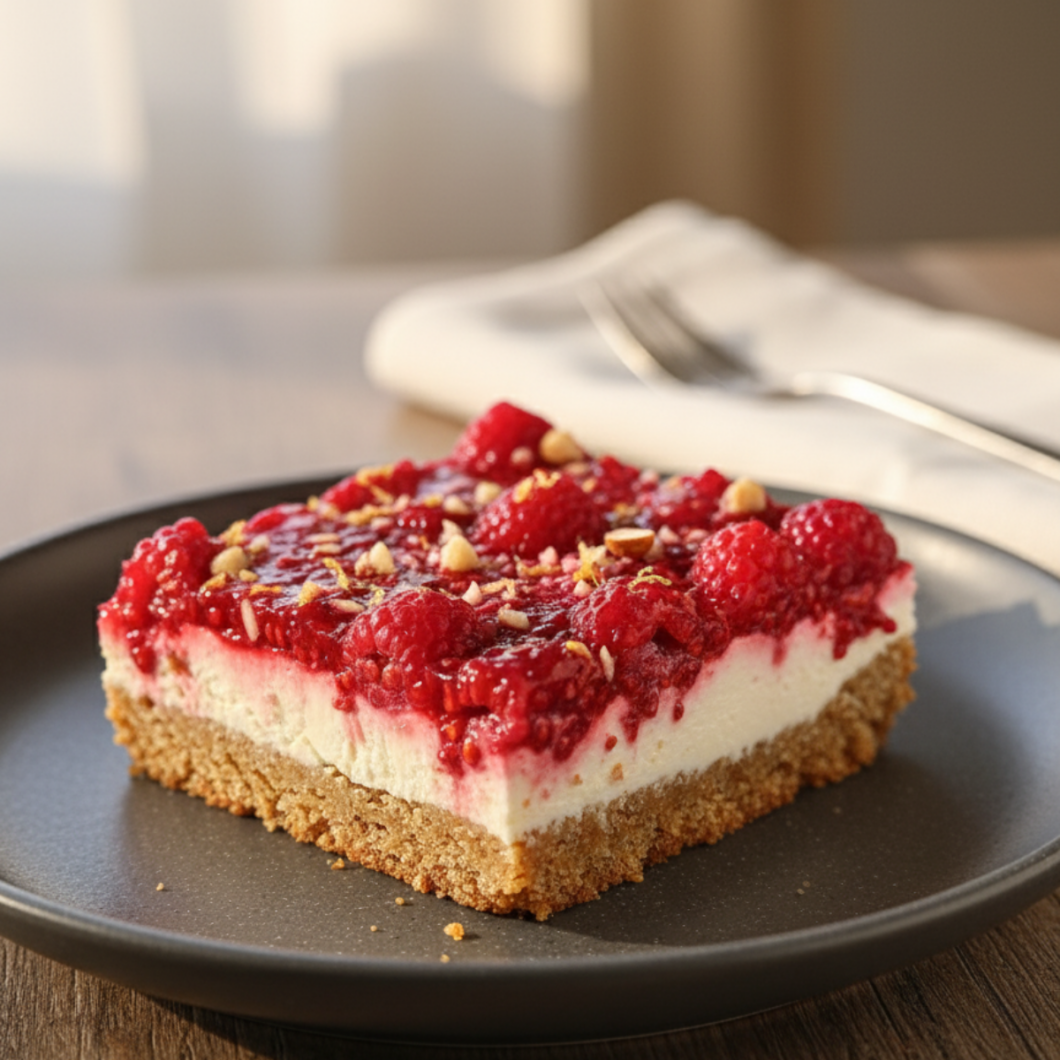
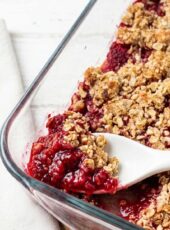
Healthy Raspberry Cheesecake (No Refined Sugar, Kid-Friendly Dessert)
A quick, wholesome cheesecake made with dates, cream cheese, and raspberry-chia jam. No refined sugar — perfect for kids and birthdays.
8
servings13
minutes15
minutes28
minutesIngredients
- Base
1 egg
8 Medjool dates, pitted
1 tbsp coconut oil
180 g paximadia (Greek barley rusks – you can substitute crushed digestive biscuits or graham crackers)
- Cheese Cream
200 g cream cheese
1 tbsp honey
- Raspberry-Chia Jam
1 cup raspberries (fresh or frozen)
2 tbsp chia seeds
2 tbsp water
- Optional Toppings
Fresh raspberries
Crushed or blended nuts
Grated zest of ½ lemon
Directions
- Start by preparing the jam. In a small pan, add the raspberries, chia seeds, and water. Cook over medium heat for about 5 minutes, stirring until the mixture thickens and the berries break down. Set aside to cool.
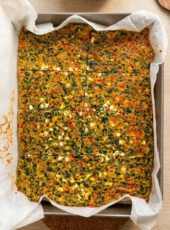
- For the base, blend the paximadia (or biscuits) with Medjool dates, coconut oil, and egg until you get a crumbly but sticky texture.
- Line a cake pan with parchment paper and press the mixture evenly into the base. Bake for 10 minutes at 180 °C (350 °F). Remove and let it cool completely.
- In a bowl, whisk the cream cheese and honey with a hand whisk until smooth and fluffy.
- Once the base is cool, spread the cream cheese mixture evenly on top, then spoon over the cooled raspberry-chia jam. Decorate with fresh raspberries, nuts, and a little lemon zest.
- Refrigerate for at least 2 hours before serving.
Equipment
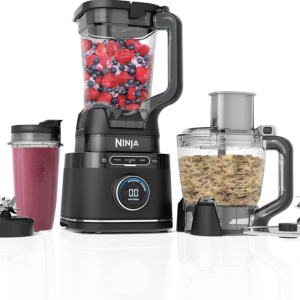
Blender and Food ProcessorGET IT HERE
Glass Mixing Bowls/Salad BowlGET IT HERE
Non-Stick Loaf TinGET IT HERE
Did you make this recipe?
Tag @livewellbychristina on Instagram
Like this recipe?
Follow @livewellbychristina on Pinterest


